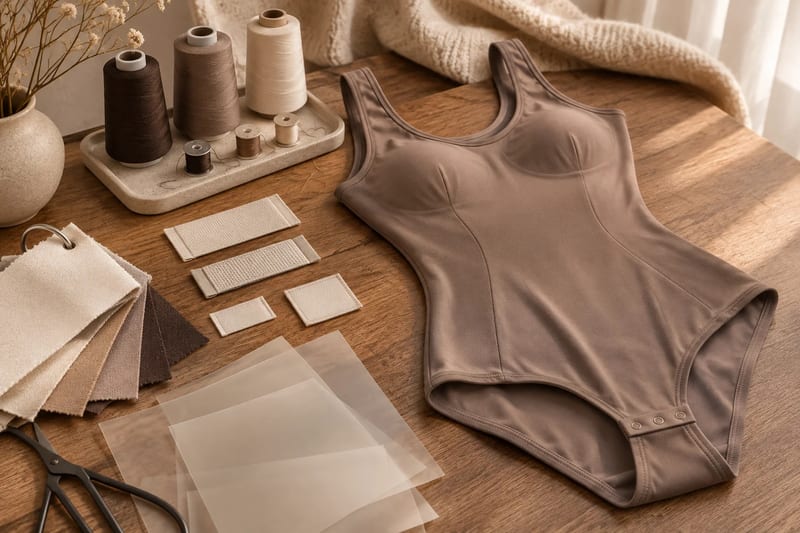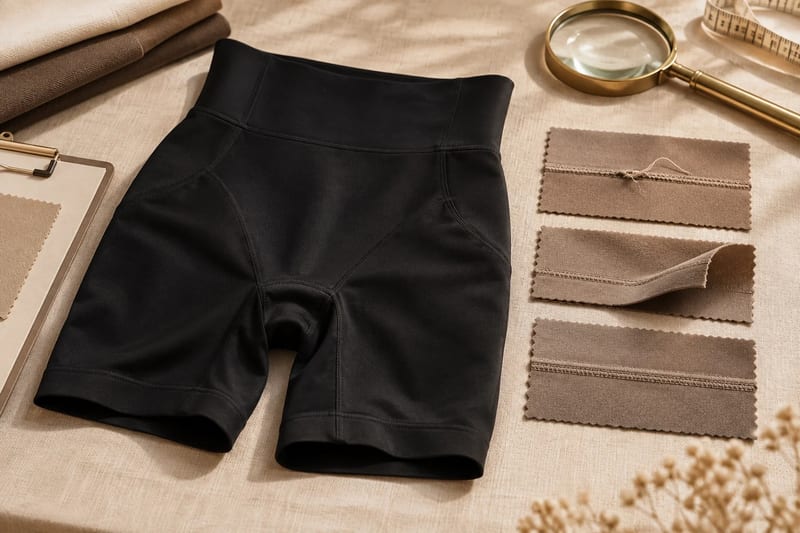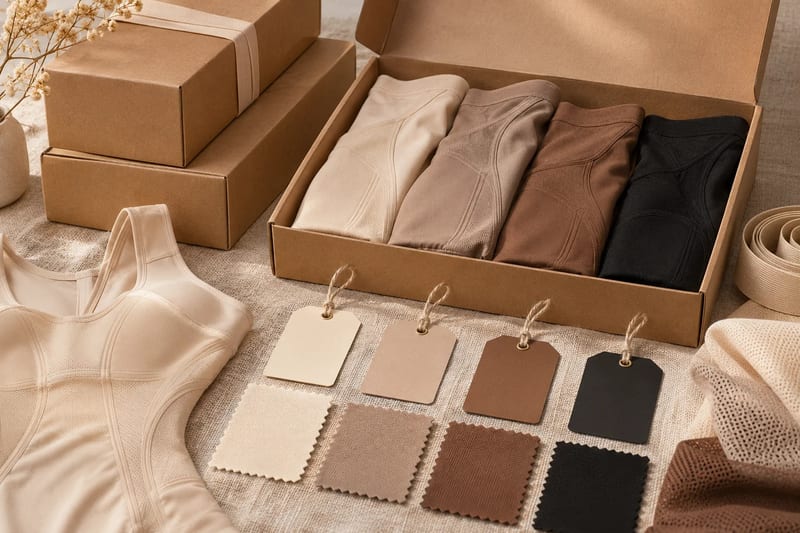
 EN
Quick Answer
Specify shapewear straps as an assembly: material, finished width, adjustment range, ring or slider, attachment position, seams and intended garment fit. Review the actual bodysuit on relevant torso and shoulder proportions. A wider strap or longer adjustment range does not automatically establish comfort or solve a torso-fit problem.
Record dressing, adjustment access, movement, position changes and contact, then reassess relevant properties after the intended care routine. Match hardware to the actual strap construction and keep component tests separate from wearer conclusions. Approve an identified assembly and garment rather than a generic promise of comfortable adjustable straps.
What Should the Strap Do Within the Complete Bodysuit?
Begin with the garment and intended wearer. Identify the neckline, back, arm opening, torso and bra arrangement, then ask how the strap supports the proposed position. A strap is not an isolated accessory when its adjustment changes the rest of the garment.
Choose an actual reference from S-Shaper’s product catalogue and mark the attachment locations. Ask which parts are fixed and which adjust. A photograph can show a narrow or wide appearance while hiding a doubled segment, connector or internal attachment.
Record relevant torso and shoulder proportions with the developer. A tester may reach the shortest adjustment while another needs more usable length. That finding should lead to a review of the whole fit relationship, not an assumption that the same strap range fits every body.
Describe the actual problem in the sample. A strap slipping, twisting, creating unwanted contact or failing to keep its setting are different events. If the body is too short for the intended proportions, changing only strap width may not resolve the garment question.
Keep the intended clothing visible in the brief. Strap position and hardware can affect appearance beneath a neckline or at the back. A construction accepted for a visible bodysuit may have another requirement when used as an underlayer. Define the priority before deciding which trade-off is acceptable.
| Assembly field | Define | Review in the garment |
|---|---|---|
| Role | Intended neckline/body position | Whole-garment fit and movement |
| Geometry | Width, endpoints and attachments | Contact and outer-clothing compatibility |
| Adjustment | Usable range and settings | Reach, operation and retained position |
| Material/hardware | Actual references and assembly | Compatibility and care behavior |
A fictional long-torso wearer may use the maximum strap setting and still experience an unsuitable lower-body location. That does not prove the slider needs a longer range; the torso and garment pattern require review. Another wearer may have enough length but encounter a strap path that slips during reaching. These are different events and should not receive the same automatic fix. Keep the setting and task with each observation so the developer can propose an informative comparison.
How Should Strap Width, Rings and Sliders Be Matched?
Ask for the finished strap construction, not just a tape width. A doubled section, seam, edge or finish can affect how it passes through hardware. Identify the actual ring or slider and request evidence for the assembled proposal.
Prym’s bra-accessory page lists options for strap widths from 6 mm to 18 mm and describes rings, adjusters and sliders as parts of the strap assembly. That is a supplier’s component range, not a recommended bodysuit width range or proof that every listed part fits every tape.
Source: Prym, Bra Accessories
The numerical endpoints differ by a factor of three: 18/6 = 3. That means width only. It does not mean three times the comfort, support or attachment strength. The actual material, placement and garment relationship remain necessary.
Check movement through the hardware and whether the intended setting is retained during the relevant trial. A slider that can be adjusted off the body may be difficult to reach when worn. A part that fits the nominal width can still need another review of the actual thickness and construction.
Ask about contact, edge condition, finish and relevant care evidence for the actual parts. Do not infer hypoallergenic performance or skin compatibility from metal, plastic, a coating name or a premium label. Keep any proposed claim aligned with evidence for the supplied component and garment.
| Published or chosen item | Number | Valid interpretation |
|---|---|---|
| Prym listed component-width span | 6–18 mm | One supplier range |
| Endpoint ratio | 18 ÷ 6 = 3 | Width ratio only |
| Assembly compatibility | Not established by nominal width | Needs the actual strap and hardware |
| Comfort/support claim | Not established by ratio | Requires garment evidence |
Wider Strap vs Different Attachment Position: Which Revision Addresses the Problem?
A width change alters one part of the contact and assembly. An attachment-position change alters the strap’s path and relationship with the garment. Both can be relevant, but neither is a universal response to every slipping or contact complaint.
Ask the developer to identify the reason for the next revision and preserve accepted neckline and coverage requirements. If several features change together, compare the complete solution rather than claim the width alone caused the result.
Review adjustment access as well. Moving a slider can change usability or contact, while another attachment can change appearance beneath clothing. The wearer should be able to use the actual construction as intended, not merely demonstrate that it moves on a table.
For an illustrative sample map, two widths × two attachment proposals × three wearer/size profiles gives 12 review cells. These are chosen planning factors, not a universal tester count or recommendation to launch four strap options. Allocate the physical samples and state what remains unreviewed.
| Revision | Main question | Preserve these trade-offs |
|---|---|---|
| Width | Does the actual contact change appropriately? | Visibility, hardware fit and movement |
| Attachment position | Does the path suit the intended fit? | Neckline, back and coverage |
| Adjustment location/range | Can the wearer operate and retain the setting? | Reach, contact and garment position |
| Material/assembly | Does the identified construction meet the brief? | Recovery, joins and care |
| Chosen map | 2 × 2 × 3 = 12 cells | Not proof of universal comfort |
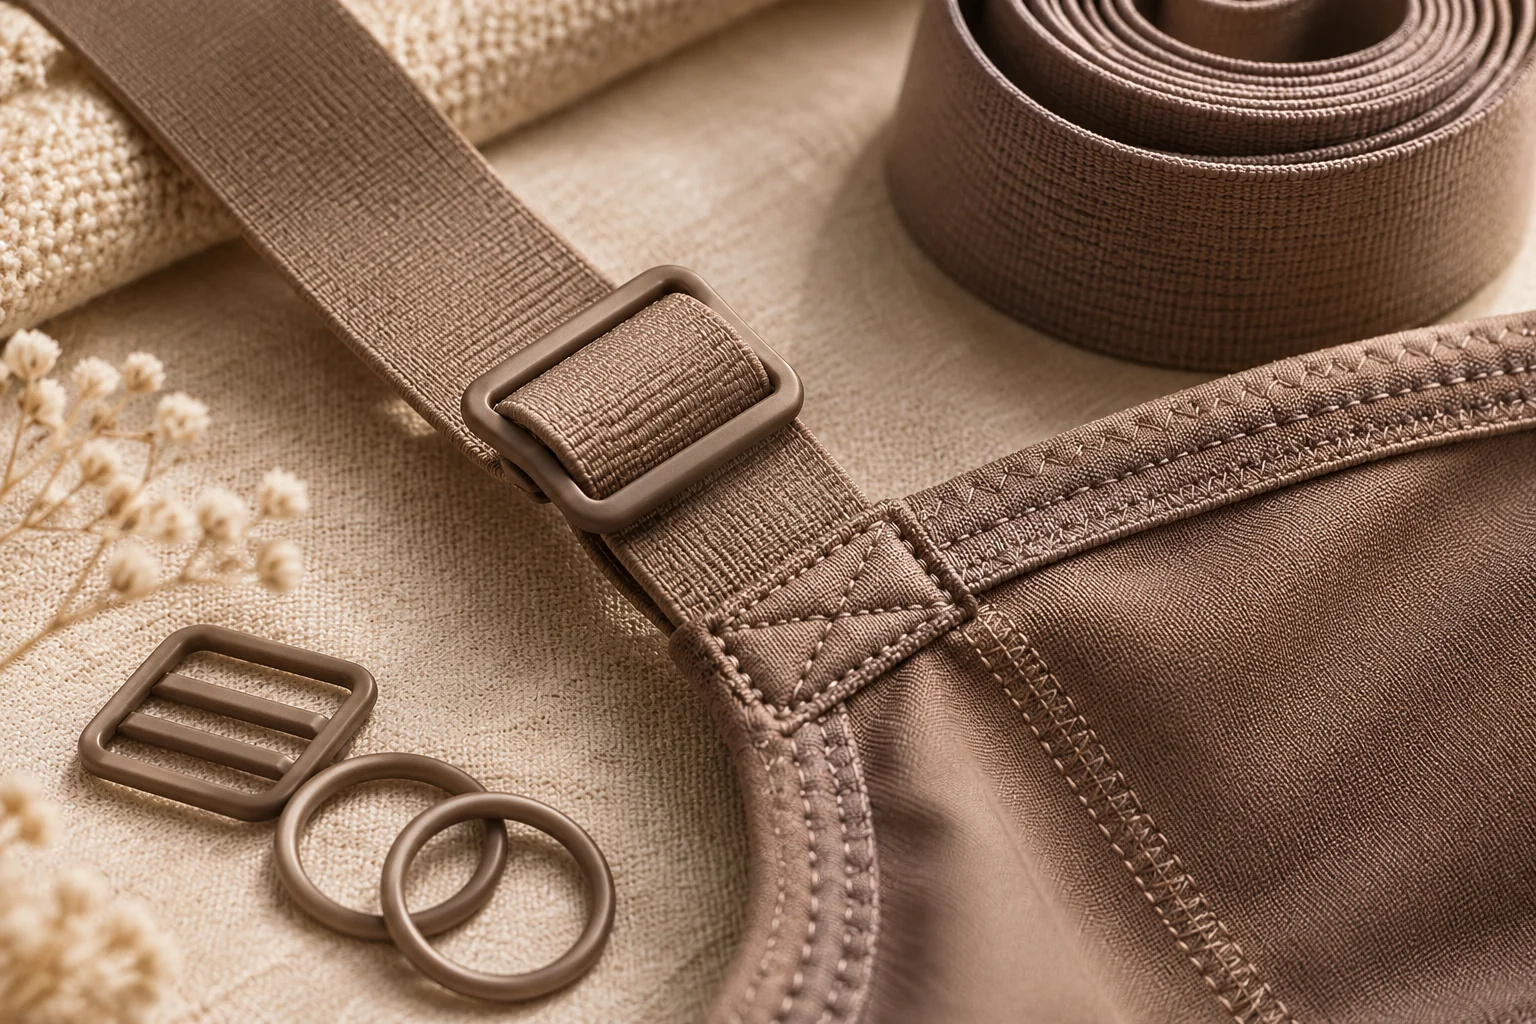
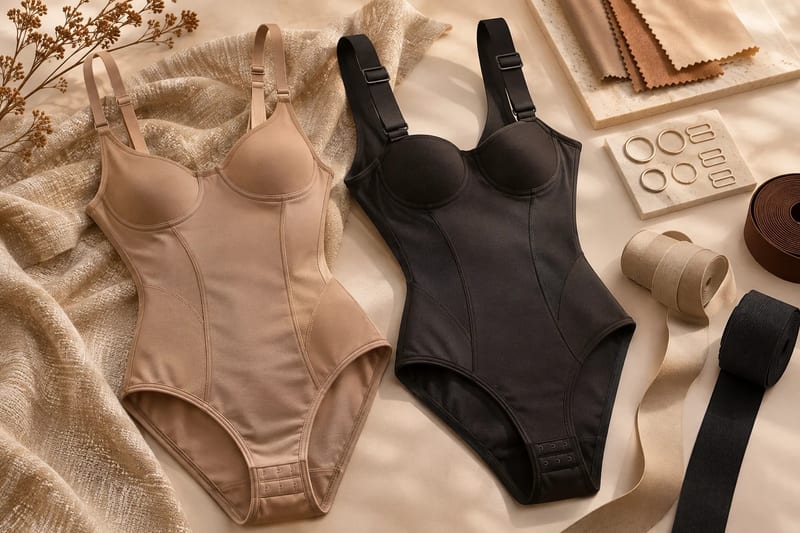
Illustrative sourcing and product-development scene. Click to continue the related buyer guidance.
How Should the Usable Adjustment Range Be Measured and Recorded?
Define the endpoints and garment state for the finished assembly. State how the shortest and longest usable settings are established and whether hardware or attachments are included in the measurement. A cut length of tape is not automatically the same as usable strap length after folding and sewing.
For a hypothetical worksheet, choose a finished assembly measuring 26 cm at the agreed shortest setting and 40 cm at the longest. Its selected adjustment span is 14 cm. The numerical midpoint is 33 cm, but that does not establish the best setting or fit for a wearer. These are invented planning values, not supplier specifications or recommended dimensions.
Record the setting used in each trial and whether it changes. If the hardware moves from the initial position, preserve the event and task. Do not describe the strap as stable because the final photograph was taken after readjustment.
Check the relationship with torso fit. A wearer using the end of the range can indicate a question about the assembly, garment proportions or intended size coverage. Ask the developer to interpret the actual evidence rather than extending every strap automatically.
Keep the measurement method with the size and version. Another garment may have a different attachment geometry even if the nominal strap span is the same. Compare complete assemblies on a stated basis and avoid claiming that one range suits every shoulder and torso proportion.
| Hypothetical assembly field | Value | Boundary |
|---|---|---|
| Shortest agreed setting | 26 cm | Chosen example only |
| Longest agreed setting | 40 cm | Not a universal requirement |
| Usable span | 40 − 26 = 14 cm | Not cut-tape consumption |
| Numerical midpoint | 33 cm | Not an ideal wearer setting |
| Actual trial record | Setting and any movement | Needed for garment interpretation |
Record left and right settings when they differ in a trial. Do not make both visually symmetrical merely for the photograph and then claim the wearer used that arrangement comfortably. The useful record describes the actual adjustment and garment position. Ask whether the difference is relevant to the intended wearer guidance or identifies a construction question; do not diagnose the wearer from it.
Also distinguish an adjustable range on the table from the range that can be operated in normal use. A setting near an attachment may be technically possible but difficult for the wearer to reach or may move hardware into an unwanted contact location. Review those details in the actual bodysuit. If the supplier changes the slider position or assembly route, preserve the new endpoints and repeat the relevant operation and fit comparison instead of assuming the previous span still describes the finished product.
What Material, Attachment and Wear Evidence Should You Request?
ASTM D4964 includes wide and narrow elastic fabrics in its tension and elongation scope. A relevant material comparison needs the actual setup and specimen conditions. It can inform an elastic-strap proposal, but does not independently establish comfort, hardware retention or whole-garment fit.
Source: ASTM D4964: wide and narrow elastic-fabric tension/elongation scope
Use S-Shaper’s customization discussion to connect the observed event with a proposed material or assembly change. Identify tape, hardware, joins and attachments. Ask which evidence addresses the component and which requires a garment trial.
Review dressing, adjustment, sitting and relevant reaching with intended proportions and clothing. Record contact, twisting, slipping and any intervention. Do not ask the wearer to endure discomfort because a wider or stronger construction is marketed as more supportive.
Agree relevant attachment and after-care checks with the quality-assurance team. A seam, hardware or material change can need its own evidence. Keep method and units with measured results and avoid inventing a universal force, cycle count or medical pressure requirement.
Consider a fictional finding: a wider version remains positioned during the recorded task but its hardware becomes visible beneath the priority neckline. Another attachment proposal may address that trade-off. Preserve both findings instead of awarding a single comfort score that conceals the appearance requirement.
Which Manufacturers Can Support Your Shapewear Strap and Hardware Decision?
Distinguish a complete garment project from separate component sourcing. The examples describe coordinated factory development, a development handoff and an identified hardware route. They do not establish national comfort rankings, one preferred strap width or a universal origin for catalogue parts.
China Shapewear Strap Manufacturer: Integrate the Assembly with Torso and Neckline Fit
China shapewear strap manufacturer comparisons should connect tape, hardware and attachment choices with the complete bodysuit, so a component change does not conceal an unresolved torso question.
Recommended supplier: S-Shaper
S-Shaper’s OEM/ODM service describes material and style recommendations with design, production, QA and export specialists. Ask the factory team to identify feasible assemblies and explain what the next sample will test. Its work across several customer regions can inform the brief, while actual garment evidence must establish the result.
Conditional low-quantity possibilities depend on the selected material, hardware and customization. They do not establish one minimum for every new strap or attachment. This route suits an own-label founder seeking coordinated fit and construction advice. Request an identified assembly and clear sample scope rather than assuming a wider option guarantees comfort.
Canada Shapewear Strap Manufacturer: Preserve Adjustment and Attachment Decisions Through Development
Canada shapewear strap manufacturer routes involving local development and overseas manufacture should preserve actual setting, hardware and attachment references when fit comments pass between teams.
Recommended supplier: Hertex
Hertex describes Montreal design, pattern development, grading and quality control, with manufacturing in China since 2006. Ask who reviews the torso relationship, translates strap findings and confirms the current assembly for production. A clear development handoff keeps the garment and component decisions connected.
The reviewed background does not establish Canadian manufacture, a standard strap program or included revision fees. Obtain a scoped proposal for the actual body and size range. This route suits a buyer who values the stated development interface and can assign approval ownership. A local contact does not make a substituted tape or slider equivalent to the reviewed assembly.
Germany Shapewear Strap Components Manufacturer: Confirm Hardware Scope Before Garment Assembly
Germany shapewear strap components manufacturer routes can identify hardware options, while component origin, commercial supply and integration into the final garment still need separate confirmation.
Recommended supplier: Prym Consumer Europe
The reviewed Prym accessory page lists Prym Consumer Europe GmbH in Stolberg as manufacturer and describes bra rings, adjusters and sliders. It provides a concrete component reference, not proof that every part is manufactured in Germany or that the retail accessory set is an OEM production offer.
Confirm actual part identity, origin, quantity and supply route before planning garment production. This route suits a buyer or developer seeking identified hardware for evaluation with an assembly partner. It does not provide a complete private-label bodysuit, universal development minimum or automatic compatibility with another strap. The final garment maker must still approve the assembled fit, operation and care behavior.
Choose the route that can preserve component identity and responsibility for the actual assembled garment, then approve its fit and operation together.
What Should the Approved Strap Specification Preserve?
Keep material and hardware identifiers, finished width, measured adjustment basis, attachment locations, joins and relevant evidence with the garment. Identify the reviewed wearer profiles, clothing and settings. A tape-width number alone is not the released assembly.
Use the order FAQ to prepare quantity and sampling questions and confirm actual item terms. Ask how material, finish, slider and pattern substitutions are reviewed. A nominally same-width part can need another compatibility check.
Retain rejected options and their reasons. A version that looks clean in a photograph may have been rejected for contact or use. Keep that evidence available so a later buyer does not reopen it without understanding the trade-off.
Connect released identifiers with packing and receiving arrangements. On a reorder, compare any proposed component or attachment change with the actual assembly and its approval reason, not simply the same strap color or width.
If a component is replaced after the first approval, ask what changes in the actual assembly. A different slider opening can interact with the tape thickness; another tape can change adjustment and recovery; another attachment can affect the garment path. Review the relevant requirement and preserve unaffected evidence with a reason. Do not restart every test without purpose, but do not accept equivalence solely because the part looks similar. A small version record can make that decision understandable to the next person handling production or a reorder.
How Can S-Shaper Help Turn a Strap Complaint into an Assembly Proposal?
S-Shaper can be approached with the body version, relevant proportions, strap setting and located observation. Ask its team to distinguish material, hardware, attachment and torso questions and propose a feasible next sample.
Its published support includes recommendations and specialist communication through design, production, quality and export. Confirm the actual component availability, sample work and order conditions for the chosen assembly.
Send the evidence through S-Shaper’s project inquiry. Request an identified proposal that preserves neckline and fit requirements while addressing the event. The useful outcome is a reproducible assembly supported by relevant component and garment evidence.
FAQ: Shapewear Strap Design: Fit, Adjustability and Comfort Checks
Are wider straps always more comfortable?
No universal result follows. Review actual material, contact, placement, hardware and whole-garment fit with intended wearers and tasks.
Does a 14 cm adjustment span fit every torso?
No. The 26-to-40 cm example is hypothetical arithmetic, not a recommended specification. Review the actual assembly, endpoints, garment proportions and wearer coverage.
Can hardware be selected from nominal width alone?
No. Confirm the actual tape construction, thickness, part and assembly. Evaluate operation, retained setting, contact and care behavior.
Does a material test approve the finished strap?
It can provide relevant elastic evidence under its method, but does not independently prove hardware retention, attachment performance, comfort or the bodysuit’s fit.